1. Go to EDIT at the top > METRICS > Add a new metric
2. After you've added new metrics, go to EDIT > Reporting template - Metrics > Click assign metric to template > From the metrics dropdown, by using the search, you'll find the metric you added in the previous step. Assign to intended companies. After this, you'll see the assigned metrics on accordingly each company's metric table.
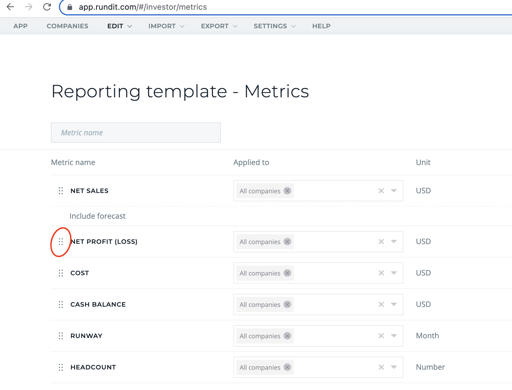
3. In the same page (Reporting Template - Metrics) , you can remove metrics from the template by clicking the three dots next to a metric > remove from template.
To edit the metrics you created, go back to the Metrics page and click EDIT on the metric you'd like to edit.
You can only edit metrics that you've created yourself, the rest are Rundit predefined ones and cannot be edited.
Reorder the metrics:
- You can re-order the metrics on the metric tables by dragging and dropping the metrics on the template.