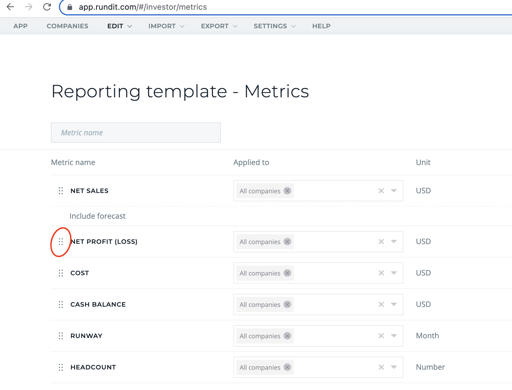
- Navigate to the top bar, click EDIT and choose Reporting template - Metrics
- You can see a template, initially consisting of default metrics. Under the “Applied to” column you can see whether the metric is applied to all companies or specific companies.
Edit metric in the template:
- Click the three dots next to a metric and select Edit Metric. You're able to change which companies the metric is applied to, include a forecast row to the metric or adjust the metric information (only available for custom metrics).
Delete metric from the template:
- Click the three dots next to a metric to delete it from the template.
- In order to delete the metric from specific companies, select from the company drop down which companies you’d like the metric to have > tick off the ones that you don’t want the metric to be applied to.
Add new metric to the template:
- Add metrics to the template by clicking on “Add metric to the template” - button.
-
- Choose from our hundreds of predefined metrics (these are available for all Rundit users, and can’t be modified)
- Or create a CUSTOM METRIC by writing a metric name in demand to the “metric name” field, followed by clicking a pop up saying “+ create custom metric”. You can include a forecast row for each metric by ticking the box “Include forecast row”.
Reorder the metrics:
- You can re-order the metrics on the metric tables by dragging and dropping the metrics on the template.